
This past weekend we had some excellent temperatures and wind conditions, so I thought it would be a great opportunity to practice some slips with my E-flite Timber X. Had quite a few good slips, some touch and goes, a couple long knife edge passes, the kind of flying that makes you feel like you’re accomplishing something. Turns out this is also the feeling that may let a bit of overconfidence creep in…
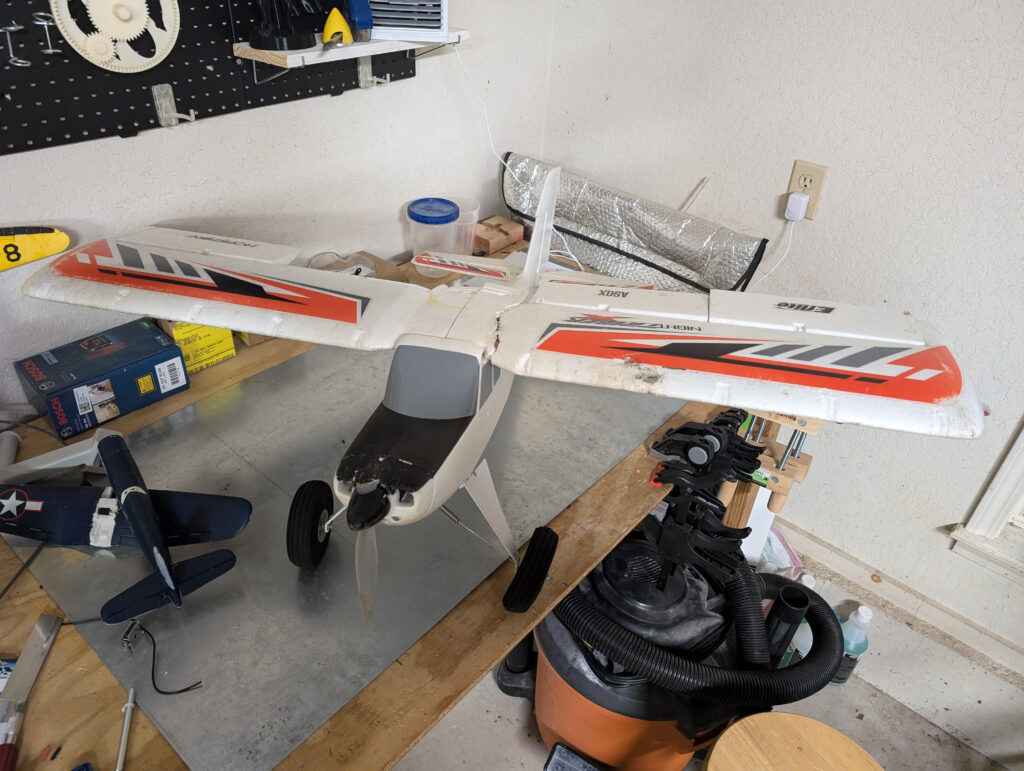
I landed, turned around to talk some trash to the guys at the field about our upcoming combat (my P-39 was ready for some more kills!), turned back to the runway and that voice crept into my head “hey, roll inverted right after takeoff and climb out, that’ll be super cool.” Turns out pulling up make your plane pull up, regardless of it’s orientation. The thud was pretty satisfying though! 100% operator error on this one, and luckily it’s not to bad of a fix, so come along with me and see how.
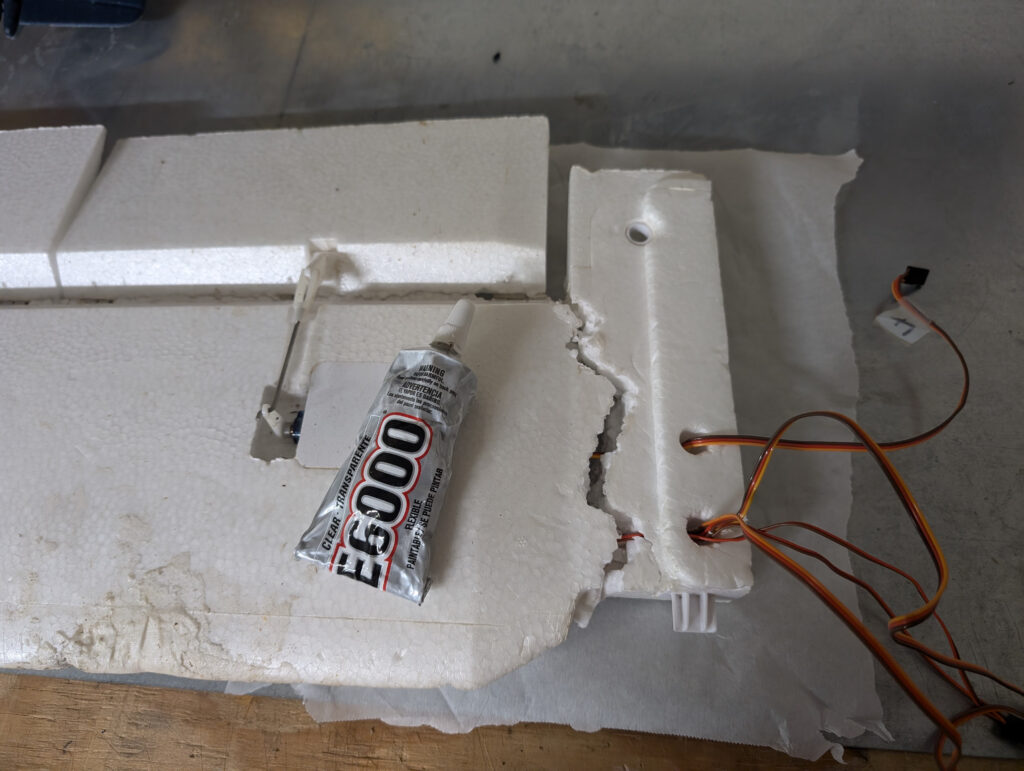
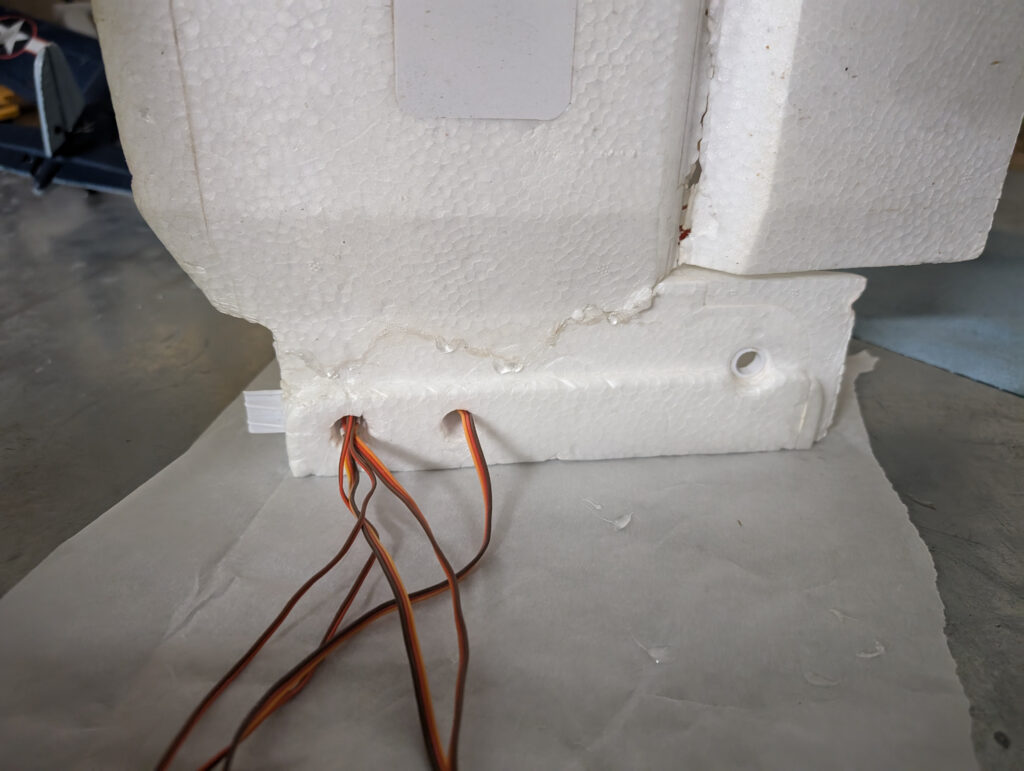
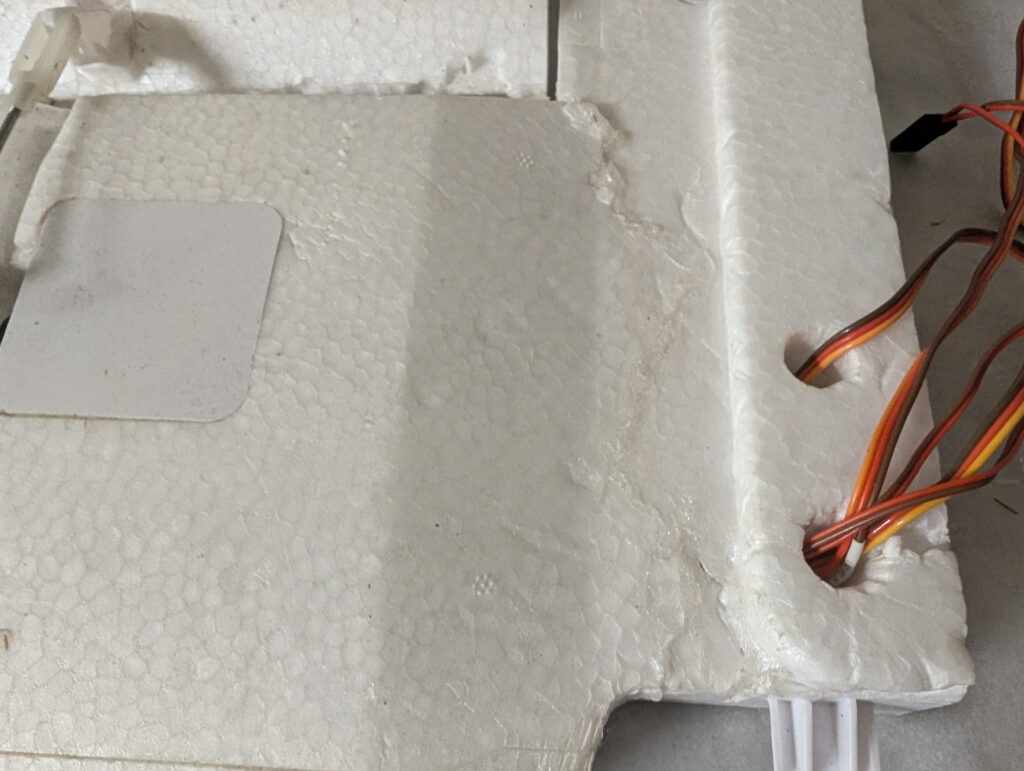
The crack happened along an existing glue line, so it won’t be too bad of a repair. Just have to disconnect the wing and pump it full of glue. Pro tip, label your servo wires! I use just a bit of basic scotch tape and a sharpie to write the channel number on.
Here we have our glue of choice, E6000. My actual glue of choice would have been Beacon QuickGrip, but I ran out and only had E6000 on hand. It’ll do the job just the same. Just pump it into the crack, on both the front and the back, and get ready to press it together.
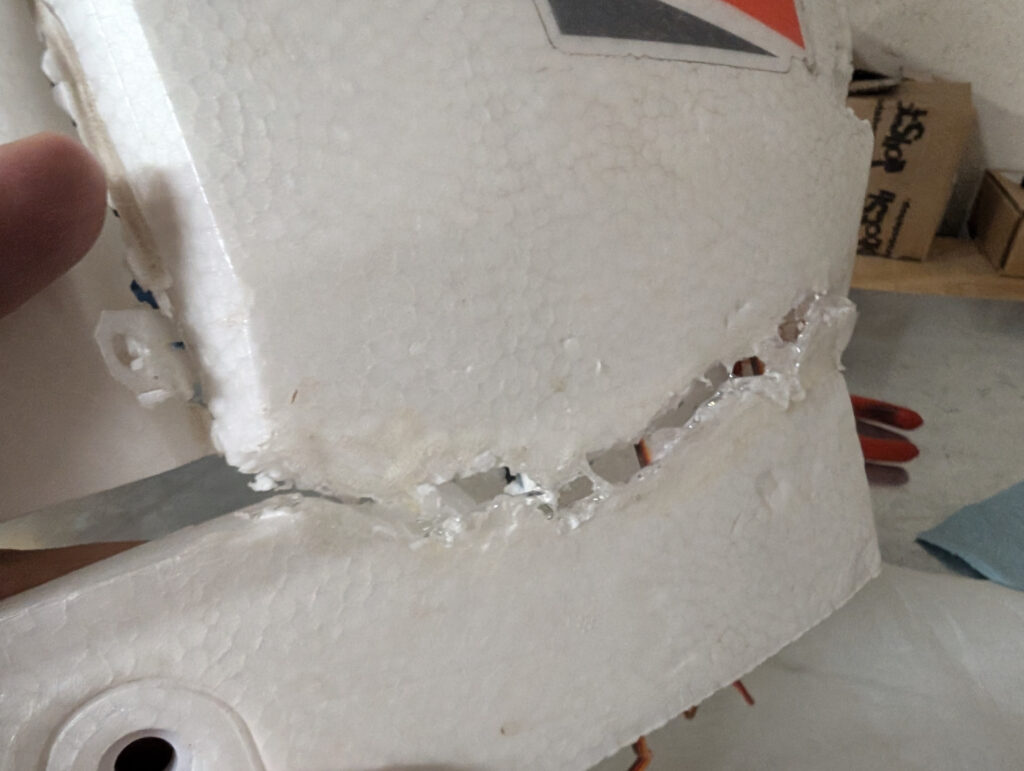
Don’t worry about all of the excess glue that you squeeze out, you can just wipe it off with a shop towel. I like to connect the pieces, and then pull them apart just slightly to let the glue tack up, and then press them back together. Not sure if this has any value for E6000, but it’s just what I’m used to from using contact glue, and it seems to help.
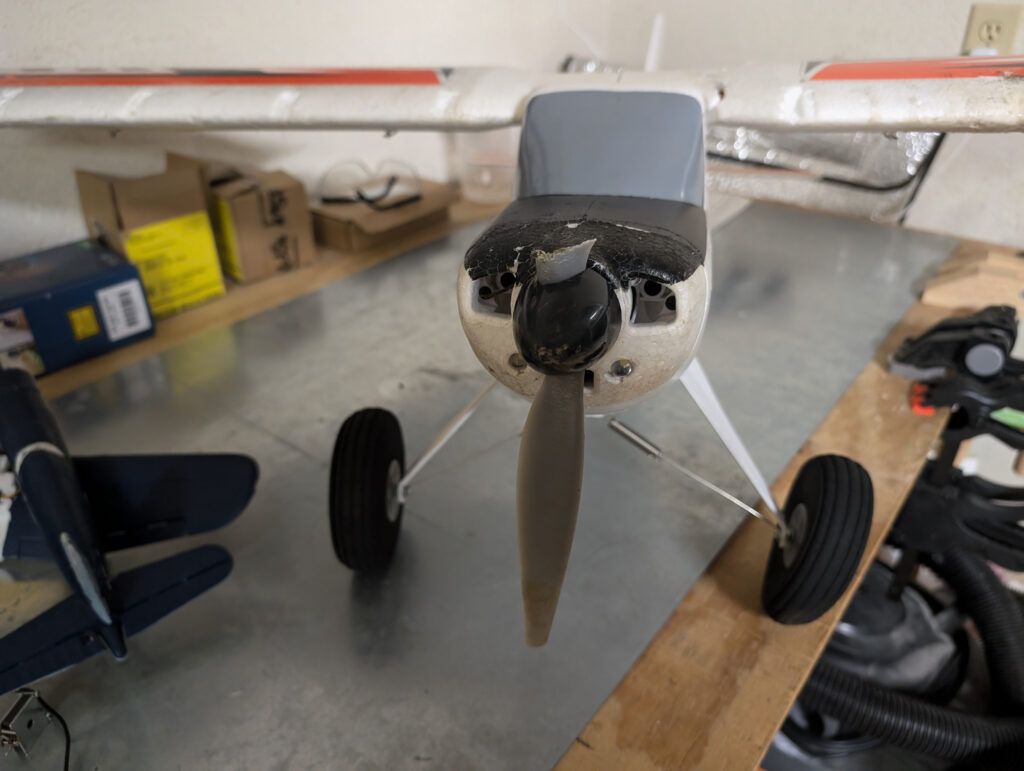
Now that the glue is on, time to turn our attention to the prop. To access the prop, we have to remove the nose cone, and then remove the nut holding the prop. I like to use an adjustable wrench and squeeze the propeller and the wrench together (hard to get in a picture).
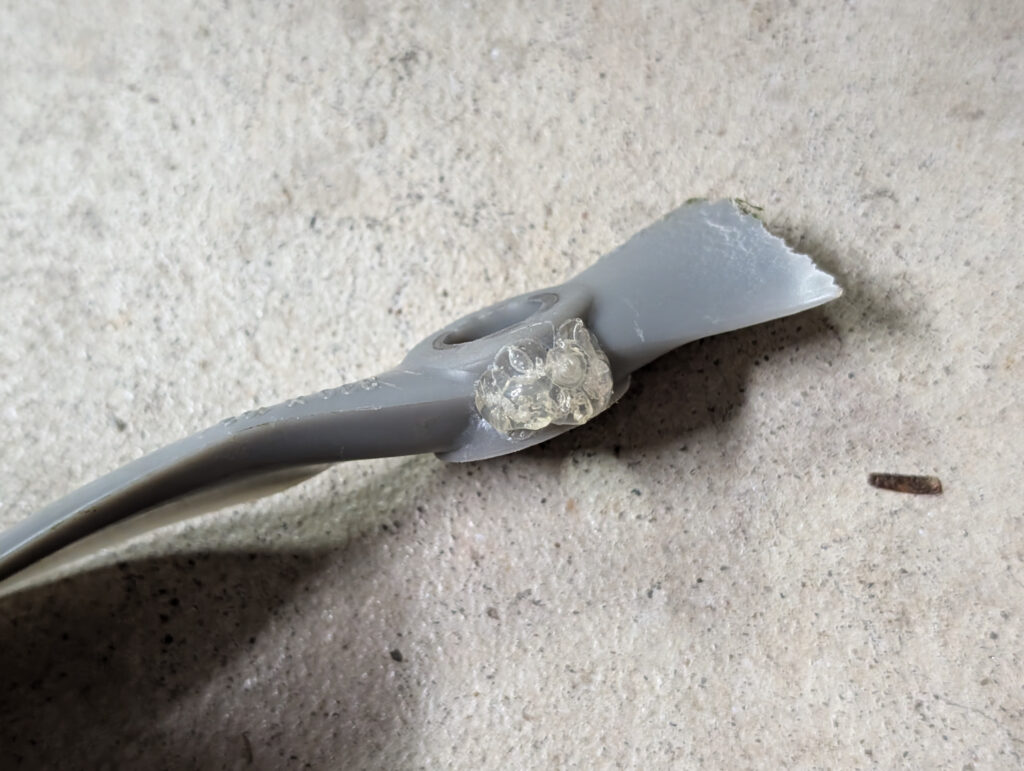
Now that I’ve got the old broken prop off (and hung it on my wall of shame), it’s time to balance the new prop. Pictured below is the glue I added to the broken prop to balance it back in the day, so I was hopeful that this new prop wouldn’t need as much (if any) weight added. Thankfully this one just needed some light sanding with some 120 grit sandpaper on the back of one of the blades to get it nice and balanced. Side note, I’m a really big fan of the DU-BRO Tru-Spin Prop Balancer.
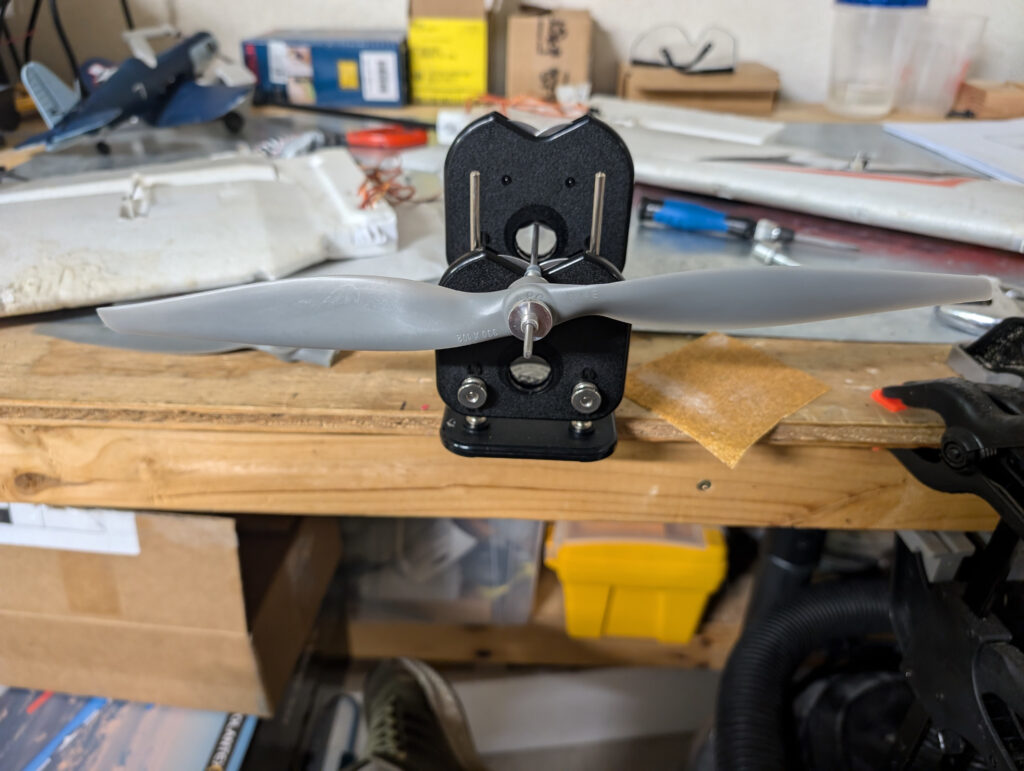
At this point I thought I was done, just slap the prop back on and tighten it down. Looks like I’d forgotten that the hub on this prop wouldn’t fit on the prop adapter with out some help. Had to go and get out some 5/16 help from my tool bag, and shortly after it was fitting nice and snugly. This probably should have been done before the prop was balanced, but c’est la vie.
Reattached the prop, and now I just have to wait for the glue to set.
We’ll be back in the air next weekend, ready to put it into the ground in a new and exciting way. I’d call this current case of Timber trouble resolved.
Keep ’em flying!
Matt